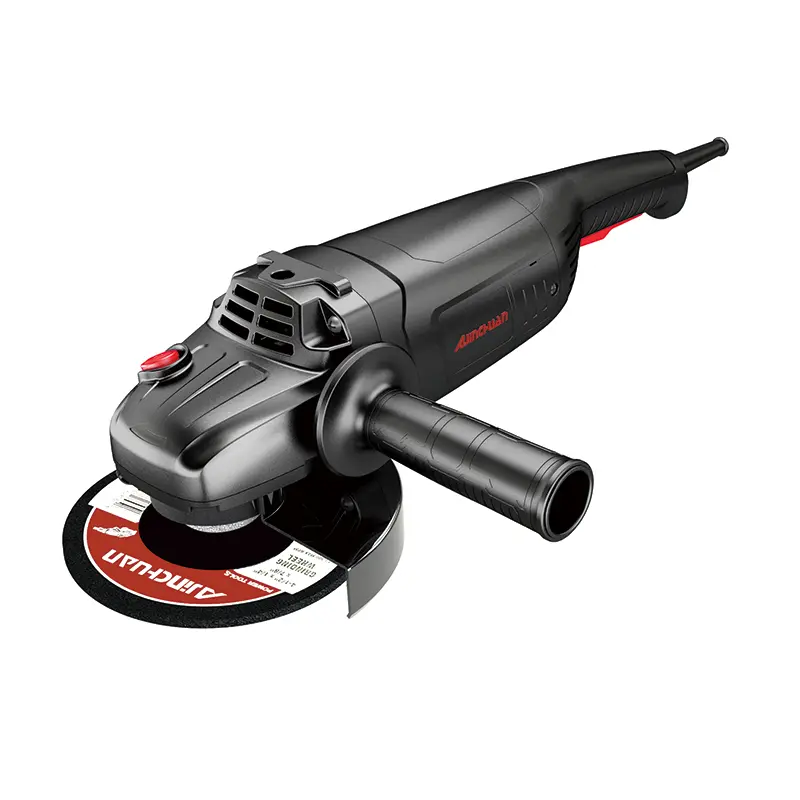
Daily Maintenance Checklist: 5 Steps to Keep Your Angle Grinder in Top Condition
After fifteen years in angle grinder technical service, the most common complaints I hear aren’t about broken machines, but rather: “This thing just keeps losing power,” “It gets too hot to handle,” or “I just replaced the carbon brushes—why won’t it spin now?” Last month, a metal shop owner told me he discards over twenty so-called “worn-out” angle grinders annually, each costing three to five hundred yuan. When I asked him to bring in these “scrap” units, over 80% were simply clogged with metal dust, had worn-out brushes that weren’t replaced, or had dry gearboxes. The problem isn’t the product—it’s daily maintenance. A professional angle grinder costing around a thousand yuan can last over five years with proper care; neglected, it might not even make it through six months. This article distills complex maintenance manuals into a clear daily checklist. Follow these 5 steps, and your angle grinder will not only deliver full power and double its lifespan but also avoid most unexpected shutdowns and safety risks. Let’s start with the simplest yet most critical step.
Step 1: Clean Ventilation and Heat Dissipation—Why Does “Blowing Air” Prevent Overheating?
This is the most overlooked yet deadliest step. The roar of your angle grinder during operation comes from the fan desperately sucking air to dissipate heat. However, metal dust and stone powder generated during cutting and grinding clog the ventilation slots and internal air ducts like plaster on a wall. Poor heat dissipation causes motor coil temperatures to surge rapidly. Insulation varnish deteriorates quickly, leading to motor burnout.
How to clean? Simple. After daily use, wait until the machine cools completely. Use dry compressed air to blow from the rear ventilation grille toward the motor head. Focus on the heat sink gaps and grille. You’ll see a cloud of dust spray out. Never blow with your mouth—moisture accelerates internal corrosion. For stubborn oil residue, gently brush it off with a soft-bristled brush.
A real-life lesson: In a stainless steel workshop, workers complained their angle grinders became too hot to handle after just half an hour. We disassembled one and found its cooling ducts 80% clogged with stainless steel shavings. After cleaning, continuous operating temperature dropped nearly 20°C. The user asked, “Can I rinse it with water?” Absolutely not! Water entering the motor or switch causes rust at best, and short circuits or electric leakage at worst. Keeping it dry and well-ventilated is the number one secret to motor longevity.

Step 2: Inspect the Carbon Brushes and Commutator—When Should You Replace the “Spark Plug”?
Think of carbon brushes as the “spark plugs” of your angle grinder. They’re the critical component that transfers motor current to the rotor. As consumables, they gradually wear down. If not replaced once they reach the minimum length, insufficient spring pressure causes sparking between the brushes and commutator (copper head). This high heat erodes the commutator’s copper segments, creating pits. Once the commutator is damaged, repairs become costly, often requiring replacement of the entire rotor.
Inspection frequency depends on usage intensity. For heavy use, weekly checks are recommended. The method is simple: unscrew the carbon brush covers (usually two) on the machine body and remove the brushes. Observe the remaining length. Most angle grinder carbon brushes have wear indicator lines. Replace them when worn down to the line. Simultaneously inspect the commutator surface, which should be smooth with a bronze-like color, free of severe burn marks or black spots.
We once serviced a stone installation crew and found that out of their 8 machines, 5 had brushes worn down to the spring base, with grooves burned into the commutator. Their boss remarked, “No wonder the machines felt weak lately and were sparking like crazy.” After replacing the brushes and grinding the commutator smooth, the machines performed like new again. Remember: Regularly replacing carbon brushes is the most cost-effective way to protect expensive rotors.
III. Step 3: Fastener and Collet Inspection — How Looseness Causes “Flying Disc” Accidents
Angle grinders are high-speed rotating tools where safety hinges on fasteners. The most dangerous risks stem from loose clamping flanges (clamping plates) and guard covers. If grinding discs or cutting discs are not securely fastened, they can deform and vibrate under high centrifugal forces, potentially shattering and flying apart—the dreaded “flying disc” accident.
Inspect before every disc or grinding wheel replacement. Ensure the clamping flange shows no deformation and its bore aligns perfectly with the spindle without wobble. When installing new discs, always clamp the spindle with the supplied specialized wrench while tightening the lock nut with another wrench. Hand-tightening is absolutely insufficient! After installation, idle the tool for several seconds to listen for smooth operation and observe for any noticeable wobble in the cutting disc.
A safety incident from a construction site: A worker cutting rebar with an angle grinder experienced a sudden fragmentation of the cutting disc, which flew out and struck his safety goggles. Fortunately, he was unharmed. The investigation revealed he had used an adjustable wrench to tighten the lock nut instead of the dedicated tool, causing the disc to become slightly loose and unstable at high speeds. Using the proper tool for tightening is the most cost-effective safety measure.
IV. Step 4: Lubricate Transmission Components—Gearbox Noise is a “Cry for Help”
The angle grinder’s power is transmitted from the motor to the spindle via a set of spiral bevel gears. This gearbox requires regular lubrication. Over time, grease deteriorates, dries out, or becomes contaminated with metal shavings. Operating without sufficient lubrication causes gears to grind dry, accelerating wear, increasing noise, and eventually leading to gear tooth stripping, rendering the machine inoperable.
How often should you refill? It depends on usage intensity. For machines used daily, we recommend checking and replenishing with specialized high-temperature lithium-based grease every 3-6 months. Open the gearbox cover (usually located on the head), clean out old grease and metal shavings, then fill with new grease to 1/2 to 2/3 of the capacity. Don’t overfill, as it will affect heat dissipation.
One lumberyard customer used angle grinders for heavy-duty stump removal and complained the machines sounded like “tractors.” Upon disassembly, the gearbox contained asphalt-black grease mixed with wood chips, and gears showed severe wear. After thorough cleaning and grease replacement, noise reduced by 70%. They asked, “Can I use regular grease?” No. Angle grinder gearboxes run hot; regular grease melts and leaks out. Only use high-temperature grease specifically formulated for angle grinders.
V. Step 5: Overall Performance Test & Storage – The “One-Minute Checkup” Before Shutdown
After completing the previous four steps, spend one minute performing a final overall test. In a safe area, start the machine under no load. Listen for sound: Is it smooth and free of abnormal noises? Feel for vibration: Is it even without unusual shaking? Observe sparks: Are the sparks at the carbon brushes fine and blue? If there are large orange sparks or machine shaking, it indicates potential balance or electrical issues may still exist.
Storage also requires attention. It’s best to hang it on a dry, clean tool wall. Avoid casually tossing it on damp, dusty floors. For long-term storage, remove the cutting disc and place it in a moisture-proof bag. A distributor friend shared that his warehouse’s slow-moving angle grinders, regularly idled for one minute, maintained excellent performance after five years. Conversely, tools haphazardly piled in corners often rust internally due to moisture. Treating tools with care from start to finish is the greatest respect.
Ultimately, adhering to this daily maintenance checklist for angle grinders takes only a few minutes each day. But the rewards are enduring power, reduced accident rates, extended equipment lifespan, and a worry-free user experience. For buyers, sharing this checklist with your end customers elevates you from a parts supplier to a solutions partner—earning trust and orders naturally follows.

FAQ: Common Questions
Q1: My angle grinder sparks heavily from the carbon brushes. Replacing them didn’t help. What should I do?
This is usually not a carbon brush issue. It’s most likely caused by severe erosion or carbon buildup on the commutator (copper head) surface. Disassemble the machine and gently polish the commutator with fine sandpaper (e.g., 400 grit or higher) to restore its smooth, flat surface. If deep grooves have formed on the commutator copper segments, professional lathe machining or rotor replacement may be required. We recommend sending it for repair.
Q2: Why is my angle grinder’s gearbox leaking oil? Is this serious?
Oil leaks usually stem from two causes: either the gearbox seal (oil seal) has aged or damaged and needs replacement, or the gearbox cover screws are loose or the gasket is damaged. Oil leaks are serious as they cause gear starvation and accelerated wear. Stop using the tool immediately upon detecting a leak. Inspect and repair the seal, then refill with grease.
Q3: My angle grinder switch occasionally malfunctions but works again after tapping it twice. Should I address this?
Immediate action is required! This indicates typical internal switch contact failure or eroded contacts. Continued use risks complete switch failure or locking in the powered-on state—extremely hazardous. Promptly remove and replace with an original-model dedicated power switch. Do not attempt repairs; switches are critical safety components.
Meta Description:
Master the 5 core steps of professional angle grinder maintenance. From cleaning heat sinks and replacing carbon brushes to gear lubrication, this guide provides practical tips to significantly extend equipment lifespan, enhance workplace safety, and reduce repair costs. Get the checklist now to keep your angle grinder in peak condition.
Keywords:
angle grinder daily maintenance, angle grinder upkeep steps, angle grinder carbon brush replacement, power tool gear lubrication, angle grinder safe operation
Post time: Jan-22-2026